Creating a Camera
We now have a Window and a World. In order to render anything to the screen, we’ll now learn about the Camera.
Expected output
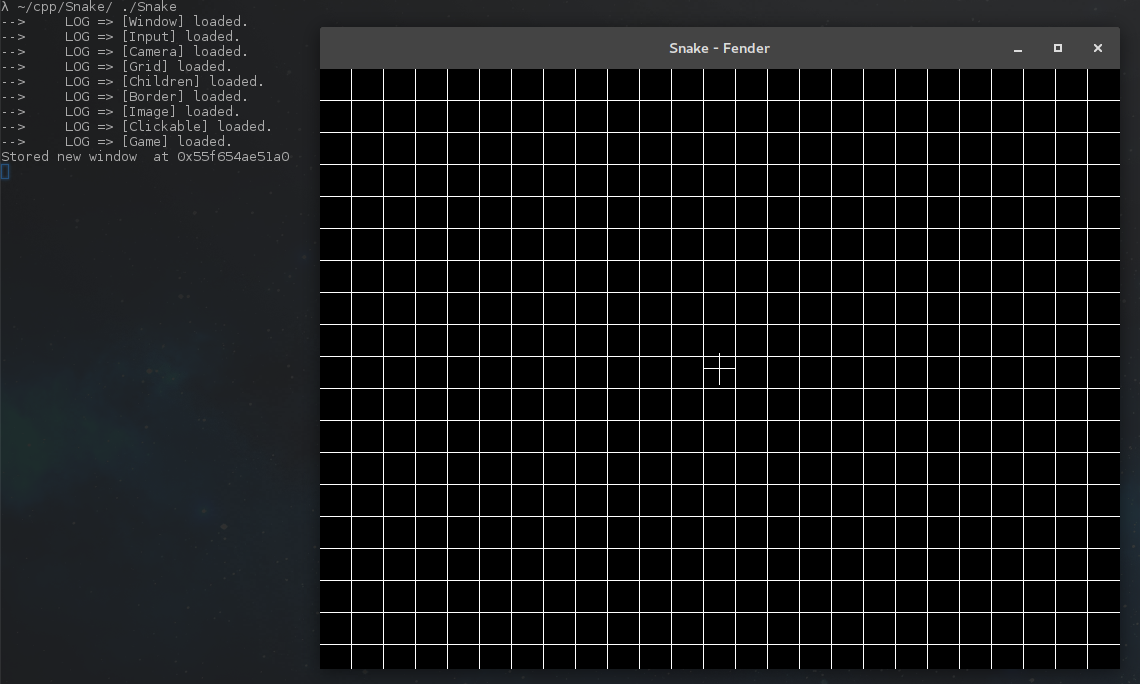
This step will allow you to see your world grid as well as a crosshair in the middle of the screen. This crosshair is equal to the Camera world position. The size of each square in the grid is equal to (World).unit pixels.
Updating Game
namespace Snake
{
  class Game : public futils::ISystem
  {
             fender::entities::Window *myWindow{nullptr};
             fender::entities::World *myWorld{nullptr};
             fender::entities::Camera *myCamera{nullptr};

             void init();
  public:
             Game() {
               name = "Game";
             }
             virtual ~Game() {}
             virtual void run(float);
  };
}
[Game] now looks like this. As you can see we simply added a Camera entity.
Camera initialization
myCamera = &entityManager->create<fender::entities::Camera>();
auto &camComponent = myCamera->get<fender::components::Camera>();
camComponent.name = "SnakeCamera";
camComponent.window = myWindow;
camComponent.debugMode = true;
camComponent.activated = true;
camComponent.viewDistance = 10;
You should be familiar with this code by now.
If you do not activate your camera (camComponent.activated = true) it won’t render anything. What you should understand is that the Camera is the most important piece of the rendering process.
Basically, the camera will follow these steps :
- Sort all game objects by z-index
- For each visible layer (between the camera position in z-axis and Camera.(Transform).position.z + Camera.(Camera).viewDistance) it will send an event
RenderLayer - Rendering systems can
require<RenderLayer>and access its objects to render them to the screen
Therefore, you should never worry about rendering order, only about your objects world positions.